Beyond the Blueprint: Creating a Galaxy - Post 14-Further Reviews on AnalogSky and Ember
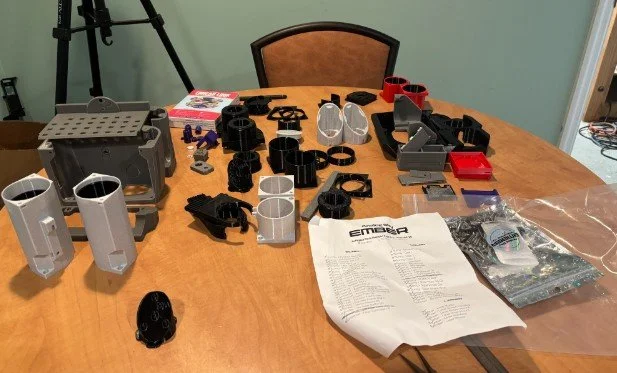
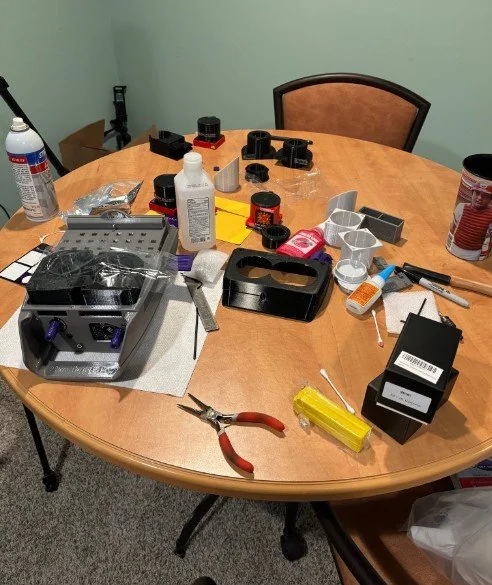
If you viewed the last blog you will know that I build a 3D printed binocular telescope called “Ember” through a company called “Analog Sky”. This is a further review of the company and the process. I have to say a few more things about Analog Sky. It is apparent to me that Analog Sky has two passions. They are passionate about building and selling the best binocular telescopes in the world and they are passionate about sharing this experience with others. They are not just a company trying to make money at any cost. My entire Analog Sky experience as a consumer has been excellent. They provide multiple affordable pathways to get into astronomy. They are open, transparent and encourage dialogue that helps everyone have a better astronomy experience. This is unheard of with most companies today and this is the reason I will go back to Analog Sky for any and all telescope experiences. There were a few times that there were delays in getting some of the optics. They were completely honest about the delays and responded to emails in a timely fashion. I know delays are frustrating but I can give tons of grace to people if they are just straight with me. Now….more on “Ember”….
All of the instructions on aligning on the site worked exactly as it is described in the instructional videos. First, adjust the correct distances between the two eyepieces. Check. Next, the horizontal. Check. Finally, the vertical image. Check. The first time through it take a little longer. By little longer, maybe it was 10 minutes. Each night I find that I have to “tweak” the adjustments. That takes about 1 minutes.
The knobs are fair but for some reason I get better adjustments if I use the Allen key to adjust the bolt in the vertical and horizontal knob. I suspect the knob is not catching the bolt. I could go back and fix it but I just decided to use the Allen key. Here is another problem. It is easy to loose Allen keys at night. There is a 3 mm Allen key that works on the adjustment bolts. I have a tiny bit of Velcro on the key and I just put another piece of velcro on the scope. The Velcro is white, easy to spot and works great. I then found in “Beehive” that someone made a nice 3 d printed holder for all the keys. I downloaded the plan, took it to my school and had it printed in 15 minutes with white plastic. I now have all my Allen keys attached to a small spot on the scope. It is no problem at all.
Next is a view finder. I was using two 4 mm eyepieces and I really needed a viewfinder. I had an old telrad refurbished and rigged up to Ember. Total failure. Hard to see the dot with the eye pieces in the way and it was almost as big as Ember. Big mistake. Next, I ordered a trusty “Red Dot” finder. Again, great 8 inch Newtonian's but bad for Ember. Tough to align and I had to crane my neck and practically do a handstand for overhead objects. Bad idea number 2. Then I had an absolutely brilliant idea. I decided to listen to the people at “Analog Sky” and use the laser they suggested specifically for Ember. I was shocked at how well it worked and how such a simple idea can work amazingly well. I heard the sage advice from an old friend of mine whisper in my ear. “Trust the process you moron….”. Lesson learned.
Finally, it was time to rethink my choice of eyepieces. As a high school science teacher I am a jack of all trades and master of none. I know just enough science to be dangerous. Expensive eye pieces intimidate me. Some of the two inch eyepieces I looked at cost more than the telescope itself. Again, the community at Analog Sky came through. I put the word out and they guided me to some budget eyepieces on Amazon. They were two inch Svbony 70 degree 26 mm eyepieces that were more affordable for my budget. I checked and the reviews stated that they were a bit fuzzy around the edges which is the same thing the Analog Sky community mentioned. I could deal with a bit fuzzy and I got a pair.
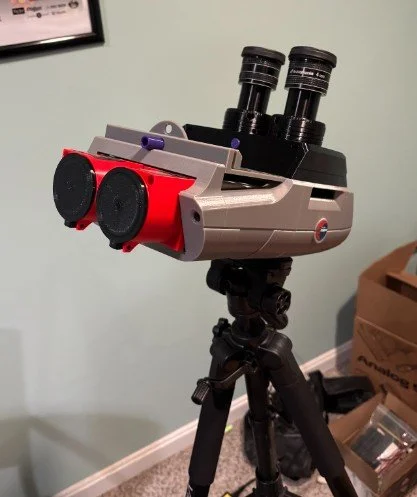
I got back from a function a bit late one night the day the eyepieces arrived. It had been cloudy all day but there was a break in the clouds. I could spot with the naked eye Jupiter and Orion. On a whim I decided to pop in the 2 inch eyepieces and have a quick look fully expecting it not to work. Nothing ever works on the first try. I brought Ember out on the recommended tripod. I was able to quickly carry it out with one hand, something impossible with an 8 inch Newtonian. The laser finder was installed and previously aligned as instructed. One click of the laser and I was off to Jupiter and Orion.
Here is what happened next….my astronomy viewing experience changed forever. Here is what it is like using two inch eye pieces on a good binocular telescope (even budget two inch eye pieces). Imagine your entire astronomy world is like viewing through a peep hole in a door to see who is ringing the doorbell. Then one day it changes to looking through a giant window at a 84 inch plasma screen TV. There is no comparison. I now “get it”. Analog Sky has thought through everything and delivered a superior product and process. Also, I can easily and quickly change the set up for friends, family and students to view. Small kids always struggle with single 1.25 inch eyepieces. There is no struggle with two 2 inch eyepieces when they do not have to stand on their tip toes with an easily adjustable tripod. I am already thinking about printing the parts for a longer focul length for Ember if I ever want to swap out the primary lenses in the future.
The name of this blog is “Blueprint: Creating a Galaxy”. I think Analog Sky nailed it perfectly. I am pretty sure Ember is going to be the last telescope I ever build or buy…..unless of course I decide to build “Heart”…….